

Oppo A3X Back Panel Replacement – Easy Step-by-Step Repair Guide
Oppo A3X Back Panel Replacement:
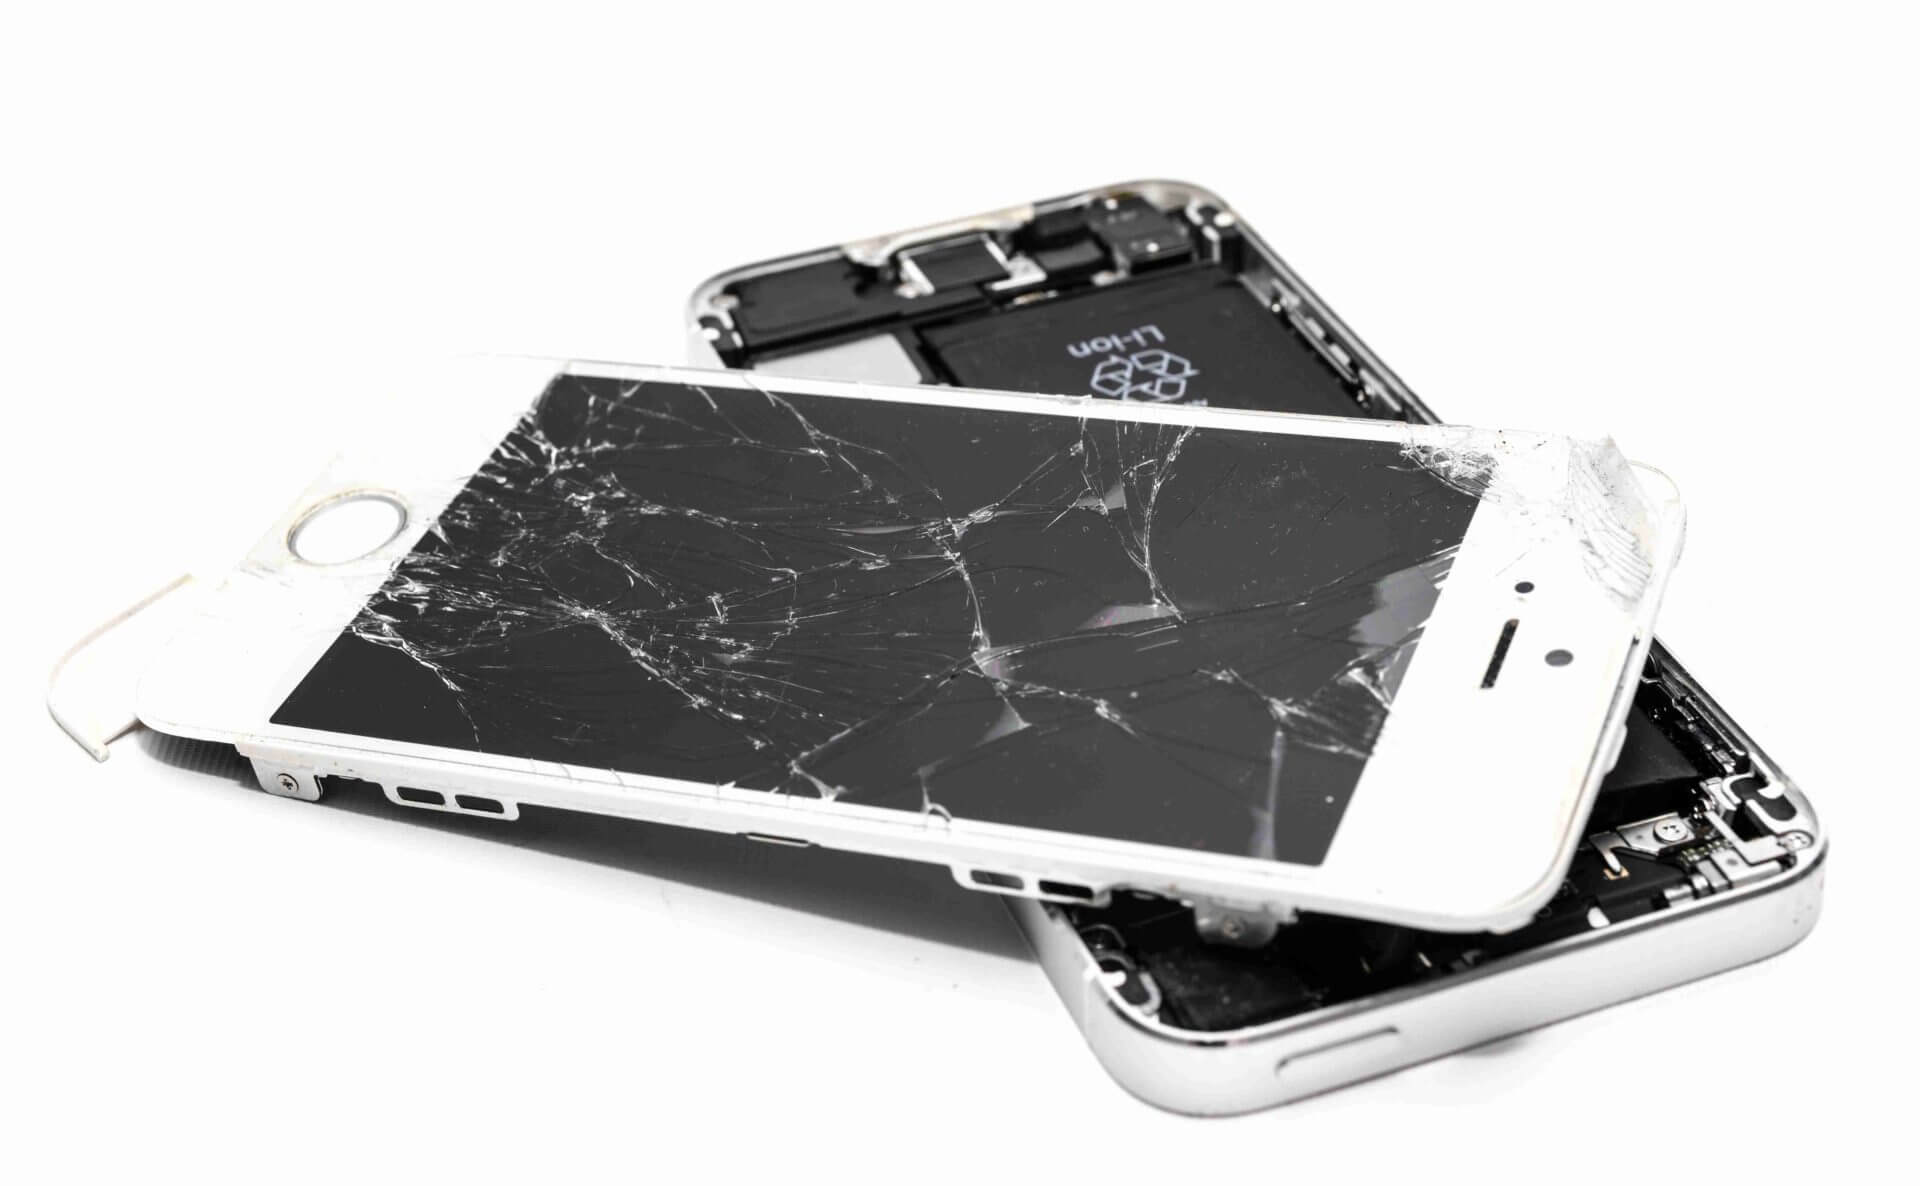
Introduction – Got a cracked Oppo A3X back panel?
If your Oppo A3X back panel is cracked, scratched, or damaged, replacing it not only improves the phone’s look but also ensures proper protection for the internal components. At Virani Telecom, we provide professional mobile repair services and also guide you to perform repairs with ease.
This detailed article, along with our exclusive repair video tutorial, will help you understand the exact steps to replace your Oppo A3X back panel like a pro.
Why Replace Your Oppo A3X Back Panel?
- Physical Damage: Cracks and dents affect appearance and durability.
- Better Protection: Prevent dust, water, and debris from entering the phone.
- Improved Resale Value: A fresh back panel makes the phone look new.
- Comfortable Grip: Damaged panels can be uncomfortable to hold.
Tools You’ll Need
Before you start, make sure you have the following tools:
- Plastic pry tool or guitar pick
- Precision screwdriver set
- Suction cup tool
- Adhesive remover or isopropyl alcohol
- Replacement Oppo A3X back panel (original or high-quality)
- Adhesive strips or glue for reassembly
Step-by-Step Oppo A3X Back Panel Replacement Guide
Step 1: Power Off Your Device
Before starting, turn off your Oppo A3X to avoid short circuits or damage.
Step 2: Remove SIM Tray
Use the SIM ejector pin to take out the SIM tray from the phone.
Step 3: Loosen the Back Panel Adhesive
- Use a hairdryer or heat gun at low heat around the edges of the back panel for about 2–3 minutes.
- This softens the adhesive and makes it easier to remove the panel.
Step 4: Separate the Back Panel
- Place the suction cup on the back and gently pull to create a small gap.
- Insert the plastic pry tool into the gap and carefully work your way around the edges.
- Avoid using metal tools to prevent scratches.
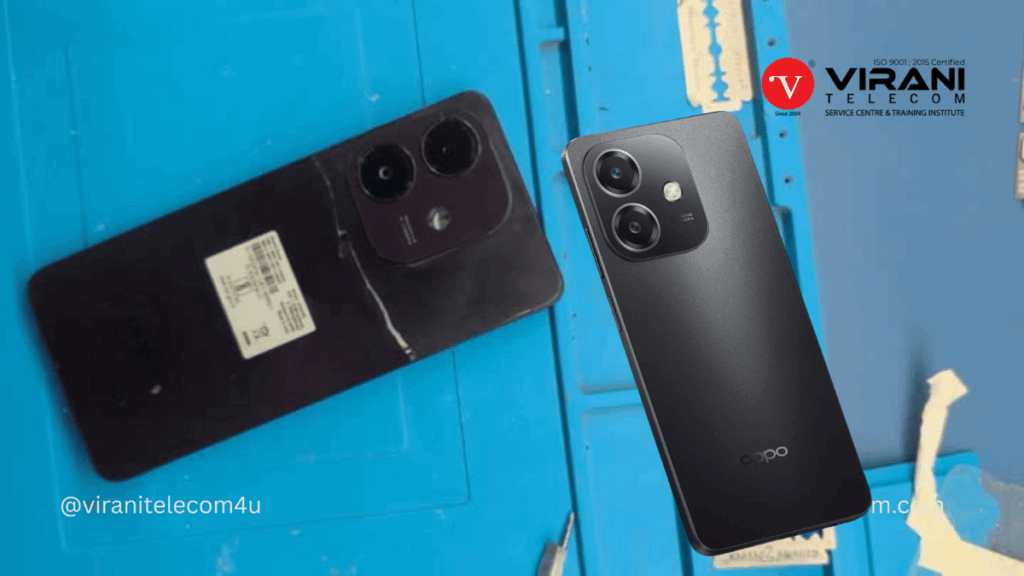
Step 5: Remove the Damaged Back Panel
- Gently lift the back panel once the adhesive is loose.
- If adhesive residue remains, use isopropyl alcohol to clean it.
Step 6: Install the New Back Panel
- Place adhesive strips or glue on the edges of the new panel.
- Align the panel with the phone and press it firmly into place.
Step 7: Reinsert SIM Tray & Power On
- Place the SIM tray back and turn on your phone.
- Check if everything is functioning normally.
Watch the Full Video Tutorial
🎥 Learn Through Our Detailed Video:
We’ve prepared an easy-to-follow video guide for Oppo A3X back panel replacement so you can watch and repair step-by-step.
Watch Now on Virani Telecom YouTube Channel
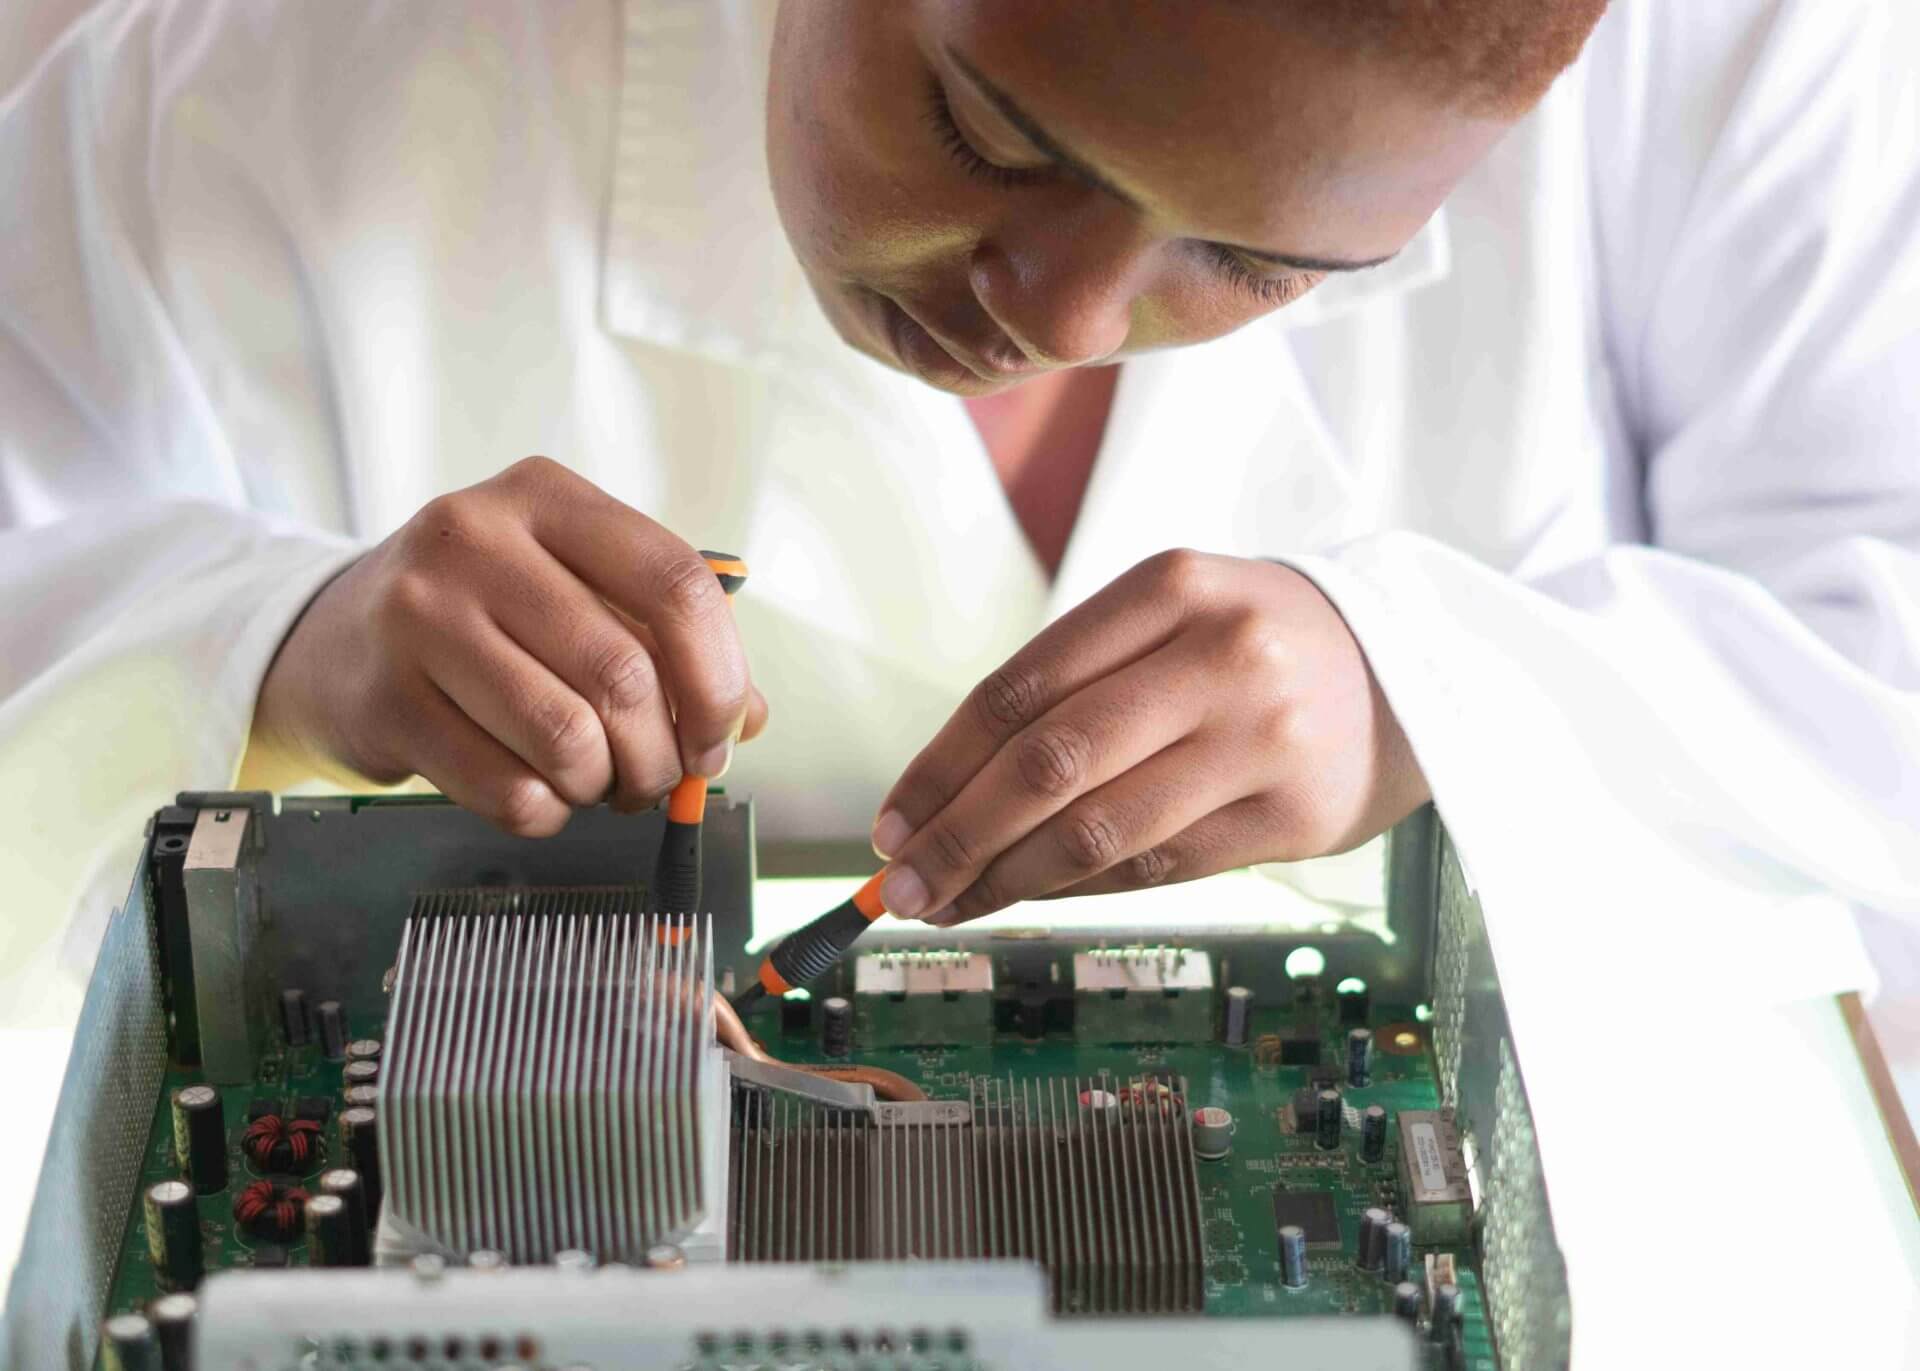
Why Choose Virani Telecom for Mobile Repair in Mumbai?
At Virani Telecom, we are known as the Best Mobile Repair Service Center in Mumbai, India. Our expert technicians handle all types of repairs, from screen replacement to motherboard repair, with 100% genuine parts and warranty.
✔ Experienced Technicians – Skilled in Oppo, iPhone, Samsung & more
✔ Affordable Prices – Quality repair without overcharging
✔ Quick Turnaround – Same-day repairs for most issues
✔ Original Parts – Guaranteed high-quality replacements
If you want a professional Oppo A3X back panel replacement without any hassle, visit Virani Telecom – The Best Mobile Repair Shop in Mumbai.
Final Tips
- Always use high-quality replacement parts to avoid future issues.
- If you are not confident in DIY repairs, let our professionals handle it.
- Keep your phone in a protective case to extend the back panel’s life.