


Google Pixel 7 Battery Replacement Step By Step Full Video Guide
Smartphones are an essential part of our daily life. Over time, every phone battery starts losing its capacity. If your Google Pixel 7 drains quickly, overheats, or shuts down unexpectedly, it may be time for a Google Pixel 7 Battery Replacement.
In this detailed guide from Virani Telecom, we will show you the complete step-by-step battery replacement process. This article is perfect for mobile repair technicians, students, and anyone who wants to learn professional smartphone repair.
We have also included a full video guide so you can easily follow the entire repair process.
Signs Your Pixel 7 Battery Needs Replacement
Before replacing the battery, check if your device shows these common symptoms:
- Battery drains very fast
- Phone turns off suddenly
- Phone overheats while charging
- Battery percentage jumps up or down
- Phone does not hold charge for long
If you notice these problems, a Google Pixel 7 Battery Replacement can restore your phone’s performance.
Tools Required for Google Pixel 7 Battery Replacement
To safely replace the battery, you will need the following tools:
Basic Repair Tools
- Precision Screwdriver Set
- Plastic Pry Tool
- Opening Pick
- Tweezers
- Spudger Tool
- Heat Gun or Heating Pad
Replacement Components
- New Google Pixel 7 Battery
- Adhesive Strips
- Isopropyl Alcohol (optional)
Using proper tools ensures safe and damage-free repair.
Safety Precautions Before Starting
Before starting the repair process, follow these important safety steps:
Turn Off the Device
Always power off your phone before opening it.
Remove SIM Tray
Remove the SIM tray to avoid internal damage.
Use Proper Heat
Apply controlled heat to loosen the adhesive.
Avoid Metal Tools
Metal tools can damage internal components.
Work on a Clean Surface
Use a clean and well-lit workspace.
These precautions help prevent damage during Google Pixel 7 Battery Replacement.
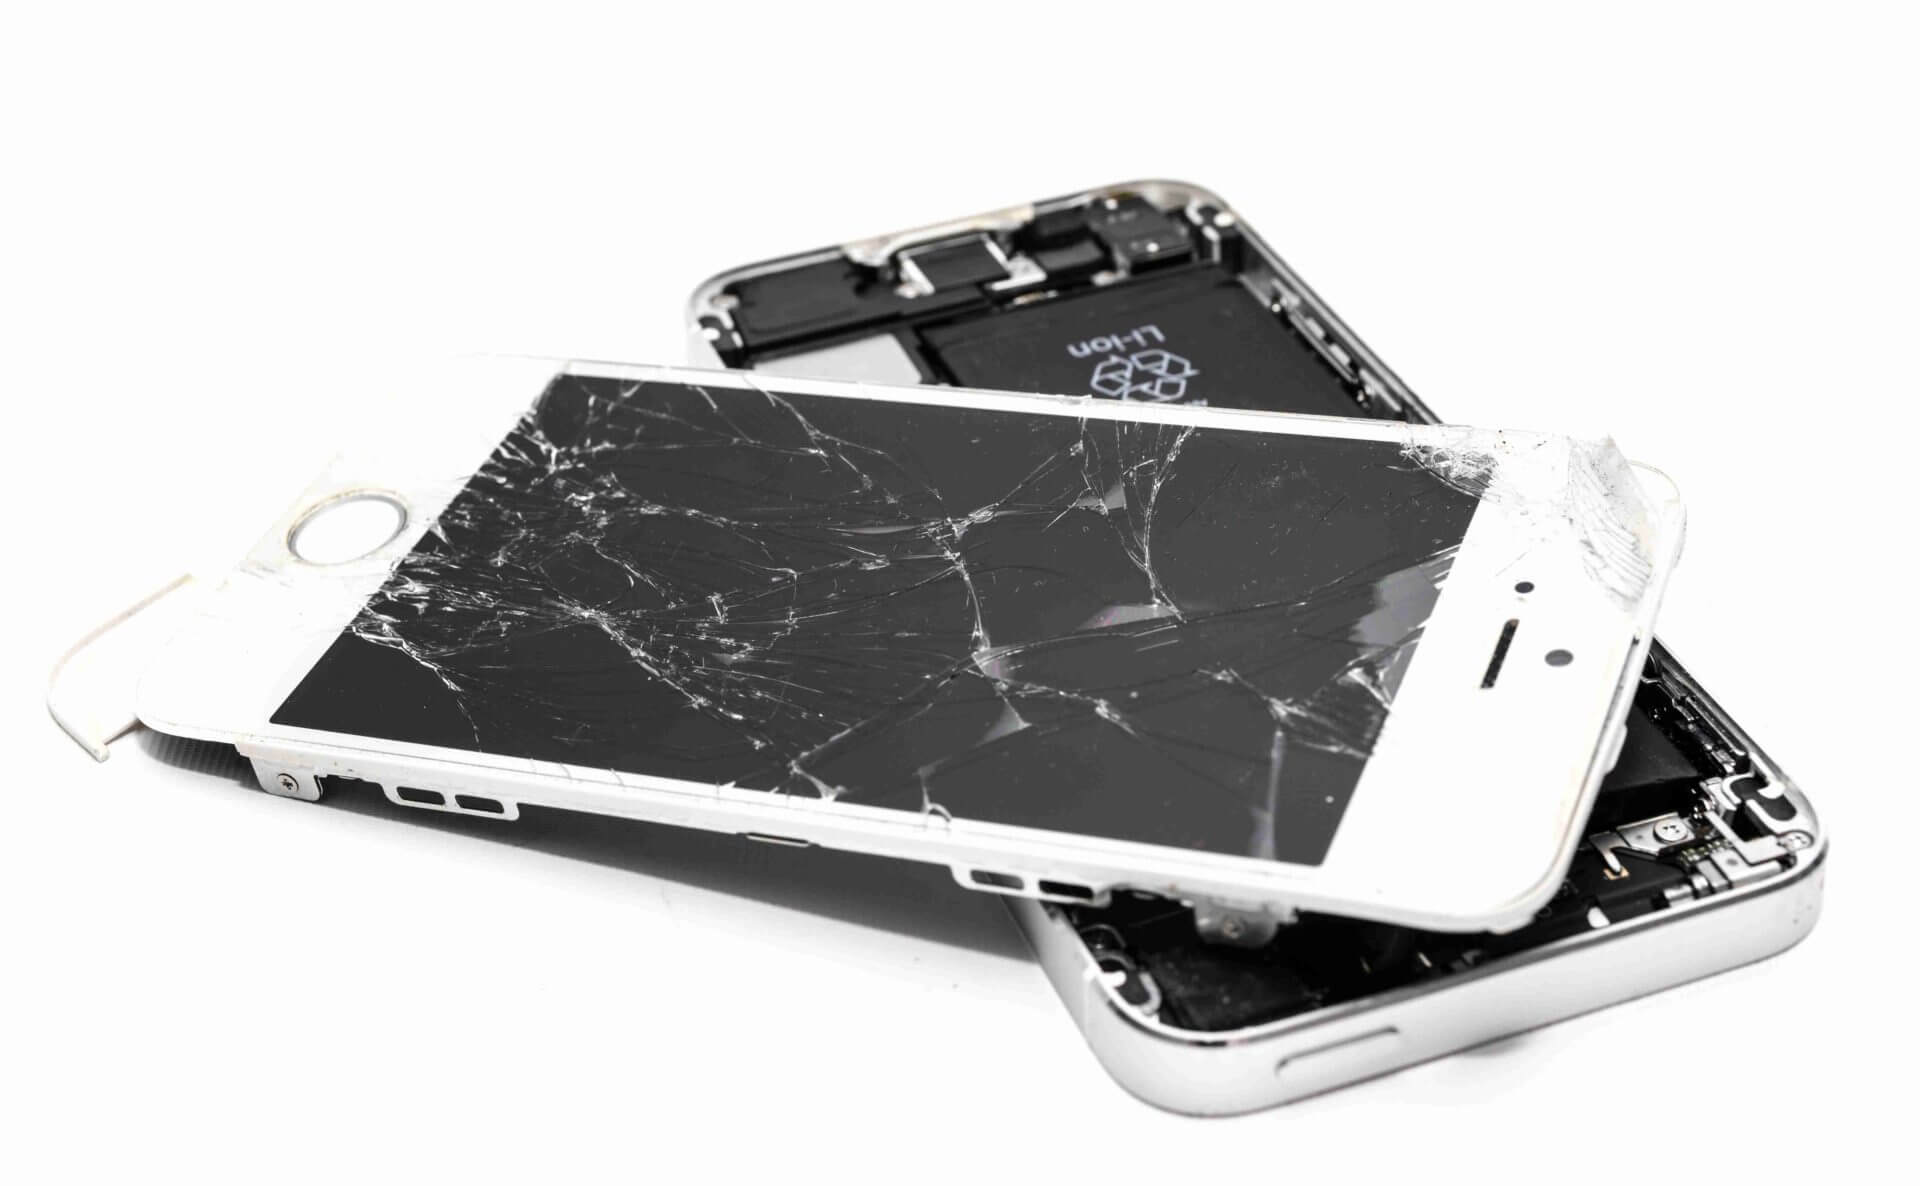
Step By Step Google Pixel 7 Battery Replacement Guide
Step 1: Heat the Back Glass
Use a heat gun or heating pad to warm the back panel of the phone.
This softens the adhesive holding the back glass.
Carefully insert a plastic opening tool and gently lift the back panel.
Step 2: Remove the Back Cover
Slowly slide the opening pick around the edges.
Be patient while separating the adhesive.
Lift the back cover carefully without applying too much force.
Step 3: Remove Internal Screws
After removing the back cover, you will see protective brackets.
Use a precision screwdriver to remove all screws.
Keep the screws organized so you can reassemble easily.
Step 4: Disconnect the Battery Connector
Using a plastic spudger tool, disconnect the battery connector from the motherboard.
This step is very important to prevent short circuits.
Step 5: Remove the Old Battery
Gently lift the battery adhesive.
If the battery is stuck, apply a little heat to loosen it.
Slowly remove the old battery without bending it.
Step 6: Install the New Battery
Place the new battery in the same position.
Reconnect the battery connector carefully.
Make sure it fits properly.
Step 7: Reassemble the Phone
Now reverse the steps:
- Reinstall internal screws
- Place the back panel
- Press firmly to seal the adhesive
Turn on the phone and test the battery performance.
Your Google Pixel 7 Battery Replacement is now complete.
Common Mistakes to Avoid
Many beginners make these mistakes during battery replacement:
- Using excessive force while opening the phone
- Forgetting to disconnect the battery
- Damaging the fingerprint cable
- Losing internal screws
- Using low-quality replacement batteries
Avoid these mistakes to ensure a successful repair.
Benefits of Learning Mobile Repair
Learning smartphone repair offers many advantages:
- High demand skill
- Opportunity to start your own repair business
- Save money on phone repairs
- Work with latest technology
- Excellent career opportunity
At Virani Telecom, we provide professional mobile repair training for beginners and advanced technicians.
Watch Full Video Guide
Watch the complete Google Pixel 7 Battery Replacement Step By Step Video Guide on our YouTube channel.
The video shows the entire repair process in a simple and easy-to-follow method.
You can pause and follow each step while performing the repair.
Conclusion
Replacing a smartphone battery may look difficult, but with the right tools and proper guidance, it becomes much easier.
This Google Pixel 7 Battery Replacement guide by Virani Telecom helps beginners and professionals perform safe and successful battery replacement.
If you want to learn professional mobile repairing, follow our tutorials and training programs.
Frequently Asked Questions (FAQs)
1. How much does Google Pixel 7 battery replacement cost?
The cost depends on the battery quality and service center. On average, it may cost between ₹2000 – ₹4000.
2. How long does Pixel 7 battery replacement take?
An experienced technician can complete the replacement in 30–45 minutes.
3. Can I replace the Pixel 7 battery myself?
Yes, but you need proper tools and knowledge. Beginners should follow a step-by-step guide or professional training.
4. Is it safe to replace a smartphone battery?
Yes, if done carefully using proper tools and safety precautions.
5. How long does a new Pixel 7 battery last?
A new battery usually lasts 2–3 years depending on usage and charging habits.
Chetan Virani
March 14, 2026Wow superb performance Excellent 👌👍 Awesome 💯😎 Extraordinary