


Redmi 13 Back Panel Change – Easy Step by Step Guide
Redmi 13 Back Panel Change:
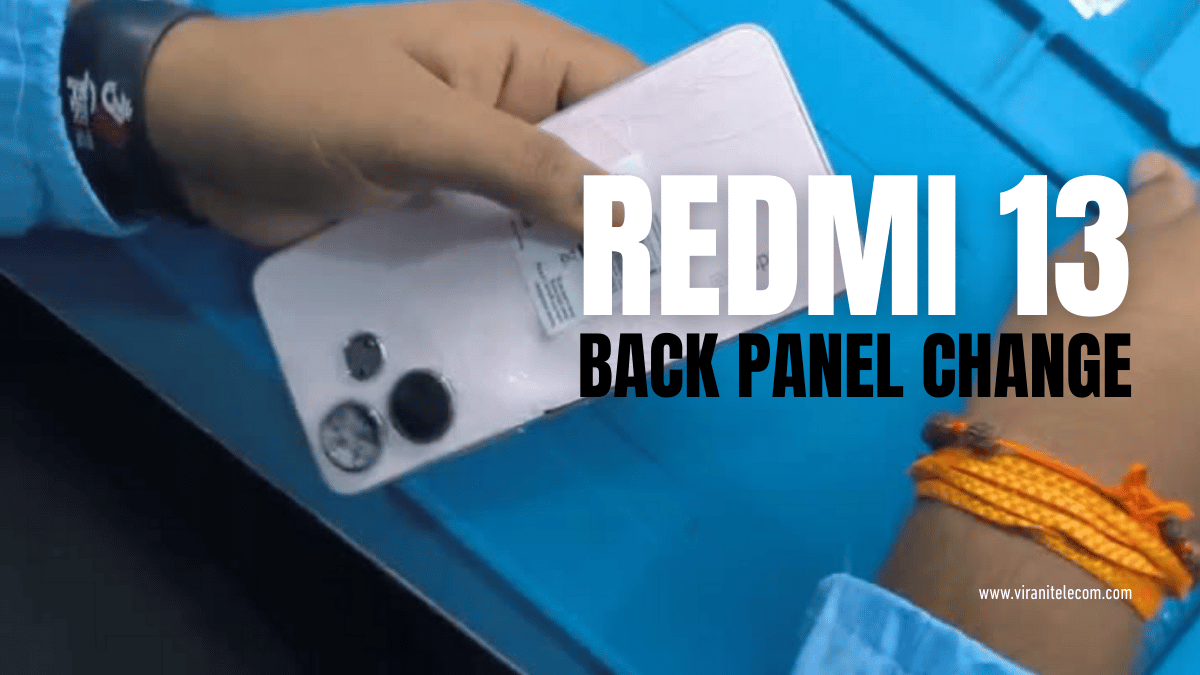
Redmi 13 Back Panel Change Learn Through Video from Virani Telecom:
If your Redmi 13 back panel is cracked, broken, or scratched, replacing it is the best way to restore your smartphone’s look and durability. At Virani Telecom, the Best Mobile Repair Service Center in Mumbai, India, we specialize in quick and reliable back panel replacement for all Redmi models.
In this guide, we’ll show you an easy step-by-step method to change the back panel of your Redmi 13, along with a detailed video tutorial so you can learn the process directly from experts.
Why Do You Need to Replace the Redmi 13 Back Panel?
The back panel of your Redmi 13 does more than just look stylish. It:
- Protects internal components like the battery and motherboard.
- Prevents dust and moisture from entering your phone.
- Keeps the device’s grip and structure intact.
A broken or damaged back panel not only makes your phone look old but can also risk damaging internal parts.
Tools You Need for Redmi 13 Back Panel Change
Before starting, gather these tools:
- Heat gun or hair dryer (to soften adhesive)
- Plastic opening tool or pry tool
- Suction cup
- Replacement Redmi 13 back panel (original or high-quality)
- Adhesive glue or double-sided tape
Step by Step Guide for Redmi 13 Back Panel Change
🔹 Step 1: Power Off Your Phone
Always switch off your Redmi 13 before starting any repair.
🔹 Step 2: Heat the Back Panel
Use a heat gun or hair dryer to warm up the edges of the back panel. This softens the adhesive, making it easier to remove.
🔹 Step 3: Use the Pry Tool
Insert a plastic pry tool or suction cup along the edge of the panel and gently lift it. Be patient to avoid cracks.
🔹 Step 4: Remove the Old Adhesive
Once the back panel is removed, carefully clean the surface and remove old adhesive or glue residue.
🔹 Step 5: Apply New Adhesive
Apply high-quality adhesive glue or double-sided tape around the frame for strong bonding.
🔹 Step 6: Install the New Back Panel
Place the new Redmi 13 back panel on the phone and press gently around the edges to secure it.
🔹 Step 7: Power On & Check
Turn on your phone and check if the panel is fitted properly without any gaps.
Learn Through Video Tutorial from Virani Telecom
👉 Watch our detailed video tutorial where our expert technicians show you the entire process of Redmi 13 back panel replacement step by step. This will make it easier for beginners and professionals alike to understand the repair process.
Why Choose Virani Telecom for Mobile Repair in Mumbai?

At Virani Telecom, we are known as the Best Mobile Repair Shop in Mumbai because:
- Experienced technicians with years of expertise.
- Use of genuine spare parts for repairs.
- Affordable repair costs with guaranteed service.
- Quick turnaround time.
- Trusted by thousands of happy customers.
Whether you need a Redmi 13 back panel change, screen replacement, battery repair, or software fix, Virani Telecom is your one-stop solution.
Final Words
Replacing the Redmi 13 back panel is not as difficult as it looks, but it requires patience and proper tools. If you want a safe and professional repair, visit Virani Telecom – the Best Mobile Repair Service Center in Mumbai, India.
📞 Contact us today or visit our repair center to get your Redmi 13 fixed by experts.